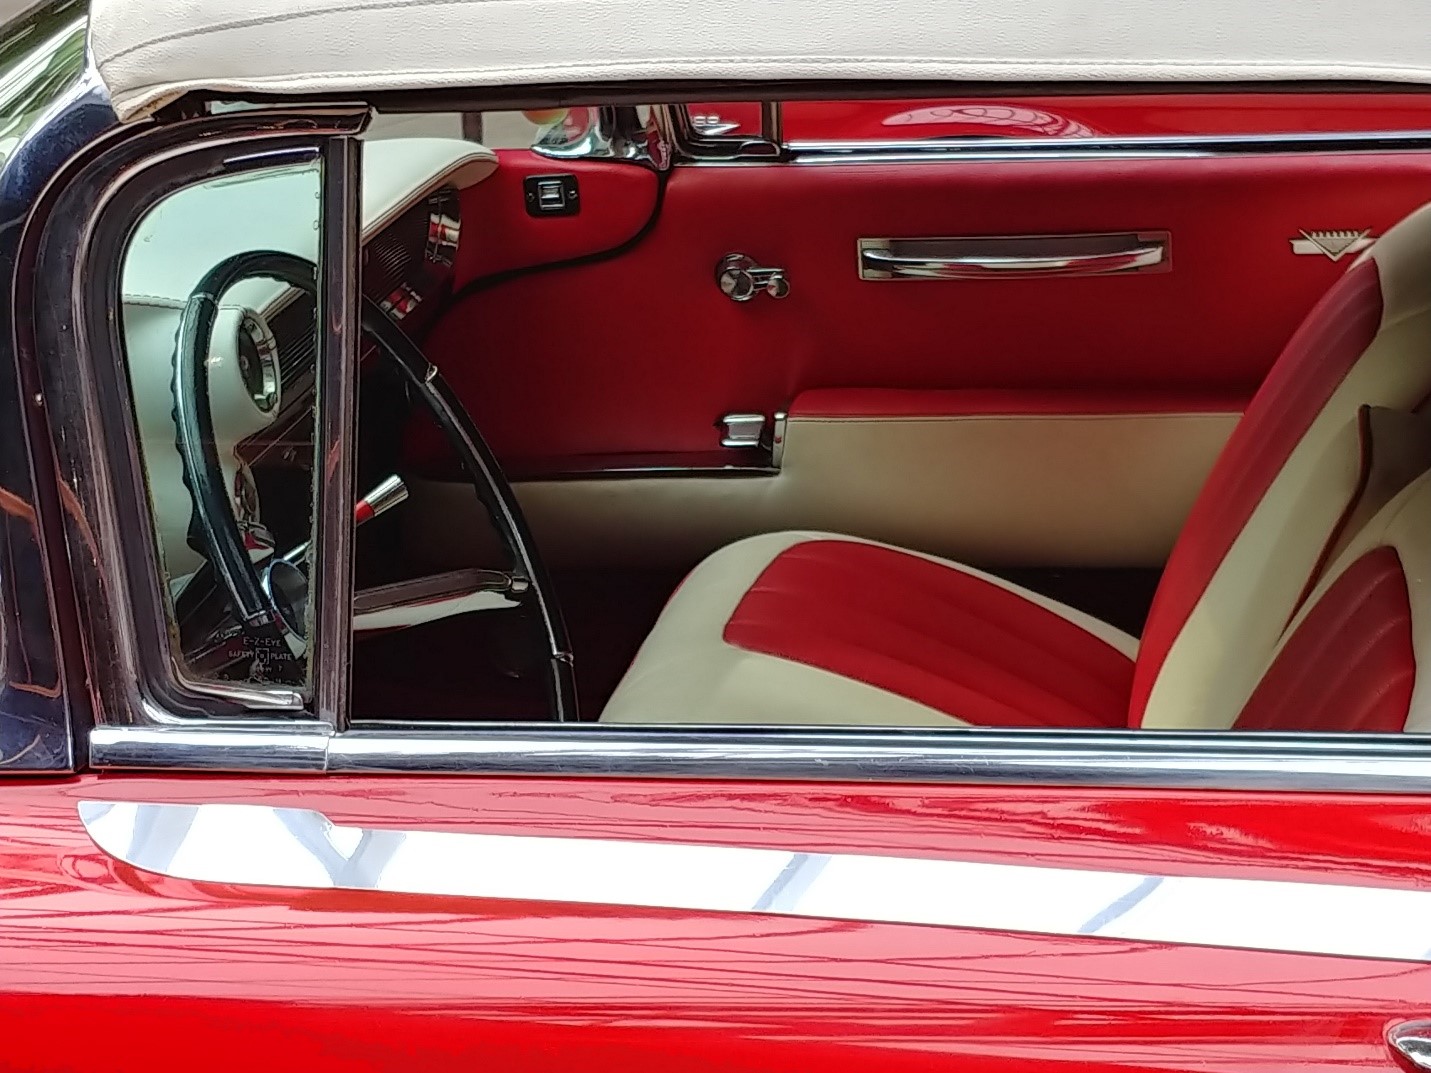
If you think car maintenance is limited to performance and paint, you’ve got another think coming. Leather seats don’t stay pristine without a little help. Even if they don’t wind up scuffed or torn, they’ll still fade over time.
The years can be quite hard on leather. Fortunately, Scratch Wizard is here to help you get those seats looking like new again. Our ultimate car leather restoration guide is here to teach you about our leather touch-up kit and the ways it can help you spruce up your aged or damaged seats. The kit supplies you with aerosol dye, leather cleaner, two scuff pads, leather filler, a plastic palette knife, backing pad material, and sandpaper.
Scuffs
We all have that friend who gets into our car and just can’t seem to keep their feet on the floor. We get it—scuffs are especially frustrating because they’re often the result of clumsiness or carelessness. But before you banish your buddy to the back seat (or the curb), remember that scuffed leather car seat restoration can be a breeze with the right materials. We’ll walk you through the steps.
- Apply leather cleaner to the scuffed area, then wipe down with a hand towel.
- Use sandpaper to sand the scuff. Stop when the area feels smooth and level.
- Apply the matching aerosol dye, and dab it with a sponge. Allow ten minutes to dry. If you have a heat gun or hair dryer on hand, you can use this to speed up the drying process. Repeat this step as necessary.
- Use the plastic palette knife to spread leather filler over the scuff. Wait ten minutes to dry (or apply heat from a heat gun or hair dryer).
- Sand the area until smooth. If sections remain rough, apply more filler and sand again.
- Repeat steps 4 and 5 as necessary.
- Use a sponge to dab dye over the area.
- After drying, dab on a second coat of dye to blend your handiwork with the rest of the leather. If necessary, apply leather finish to further blend everything together.
Cracks and Minor Tears
A little tear here and there may work for your jeans, but ripped car seats will never be in vogue. Cracks, meanwhile, just make leather seats look like shriveled prunes. If you’re dealing with either of these headaches, check out our simple guide to cracked and torn leather car seat restoration.
- Spray the area with soapy water. Wipe it down with a hand towel.
- Apply leather cleaner to the scuff pad, and then rub the area to remove dirt and other excess materials.
- To repair a minor tear, cut out a section of the backing pad. On each side, this section should measure a quarter of an inch larger than the tear.
- Use a pair of tweezers to insert the backing pad cutout beneath the tear.
- Through the tear, apply filler to the backing pad. Pinch the edges of the tear together, and then press them against the backing pad. Allow an hour for the filler to dry.
- Apply filler to the tear and cracks. Give the area ten minutes to dry (or apply heat from a heat gun or hair dryer).
- Sand the area. Be sure that you sand in a single direction, rather than back and forth.
- Apply another layer of filler to cracked areas that aren’t smooth. Tears will require this second layer. Sand in a single direction, and then dry the area.
- Apply a light coat of dye. Let it dry for ten minutes. Apply further layers as necessary. If necessary, apply leather finish to blend the dye.
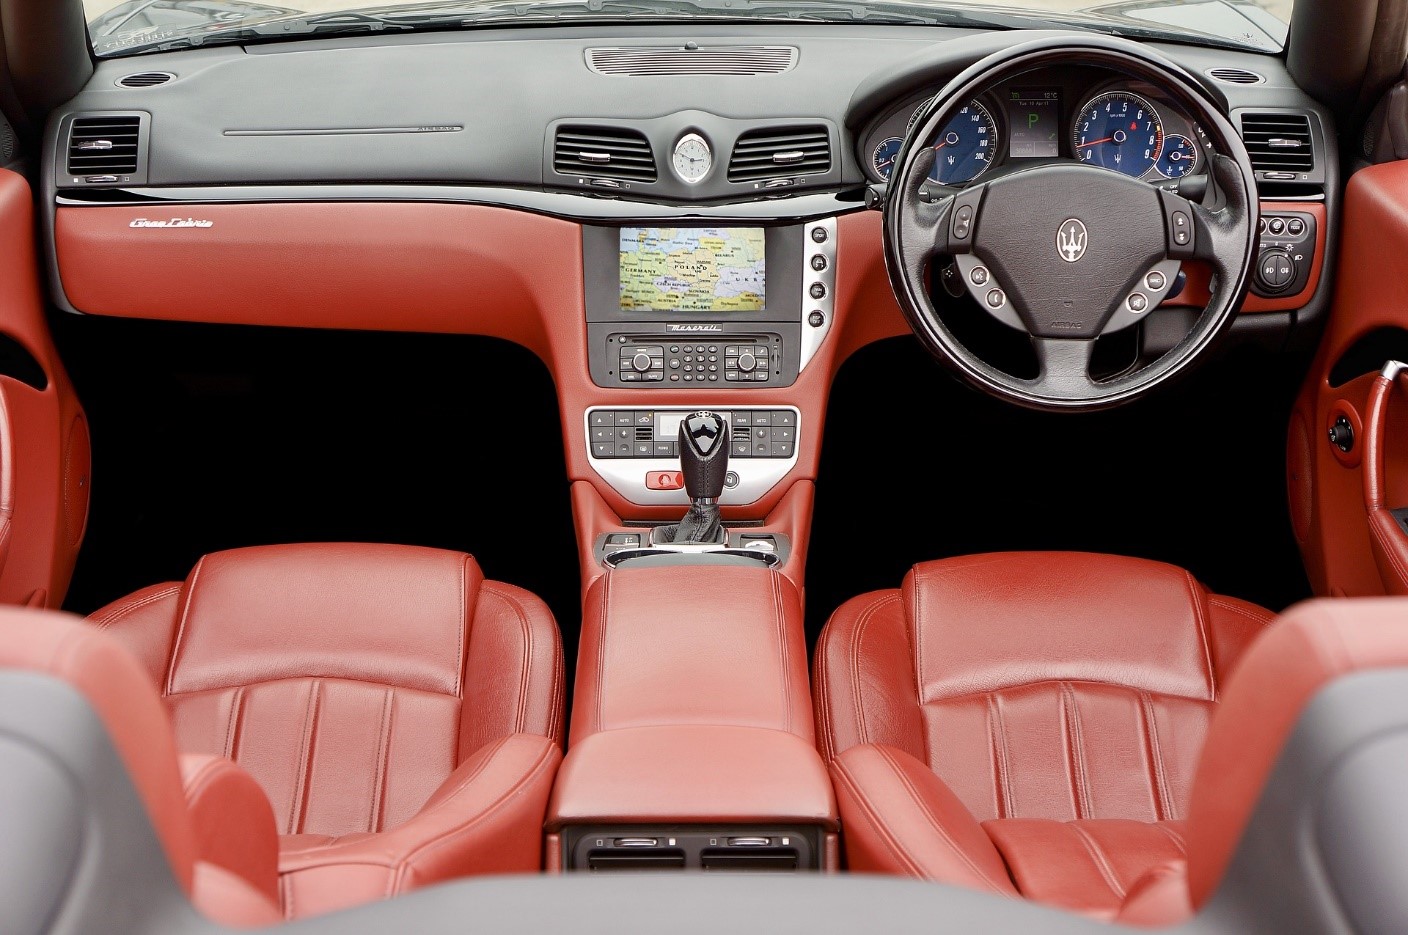
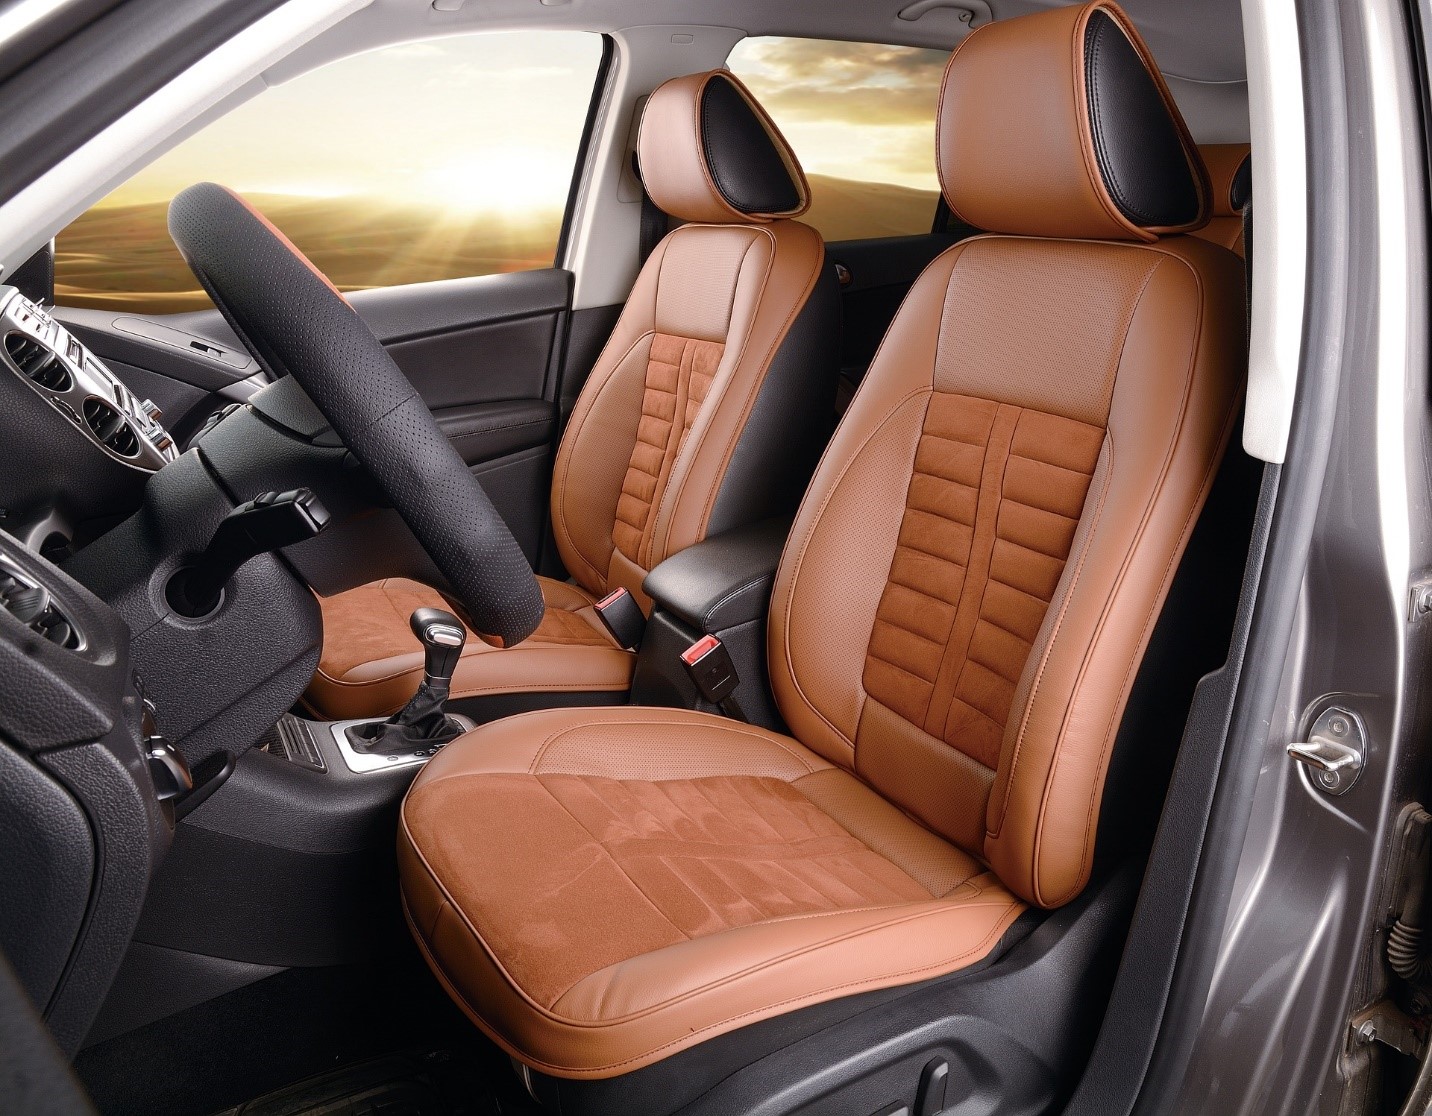
Faded Seats
Unless you’re meticulous about maintenance, even the best leather will fade with time and use. You might not even notice until you open one of your car’s doors in the morning and realize that the seats aren’t their original color. Fortunately, faded car interior leather repair is a quick and simple process. In just three steps, you can give your faded seat a repair that will last, depending on use, for three to six years.
- Apply leather cleaner to a hand towel and wipe down the faded area.
- Rub the area thoroughly with a scuff pad.
- Spray on a coat of matching dye. Give it ten minutes to dry. You can use a heat gun or hairdryer to speed up the process.
Creases/Dents
Remember the time you left a dumbbell in your backseat over the weekend? So does your leather—the impression’s still there. Dented leather is good for exactly no one, but we’re happy to say that fixing it is hard for exactly no one, too. It’s so simple that we can barely justify making a step-by-step guide.
- Hold a heat gun or hairdryer a few inches from the leather.
- Fire the heat gun or hairdryer at its highest setting for three minutes.
That’s how to repair dented leather car seats. Nothing else to it. Did we mention this was easy?
Preventative Measures
Once you’ve completed your car leather restoration, you might wonder what you can do to keep your seats in good shape. Here are a few tricks, in no particular order:
- Keep your leather cool. Heat and sunlight can lead to cracks, so park in the shade and roll down your windows a bit if possible. It’s not a bad idea to pick up a windshield sun protector, either.
- Use a head with soft bristles, and vacuum your seats on a regular basis to pick up dirt and lint.
- Be mindful of buttons. They scratch and scuff.
- Invest in a leather conditioner (or similar spray) that protects your leather.
_____________________________________________________________________________________
At Scratch Wizard, it’s our mission to supply the best tools to those who want to repair or enhance their car’s interior or exterior. Our leather touch-up kit is just one of the many products from our collection that will help keep your car in pristine condition. The next time your car has a scratch, scrape, or scuff, make Scratch Wizard your destination for car interior leather repair and restoration supplies.